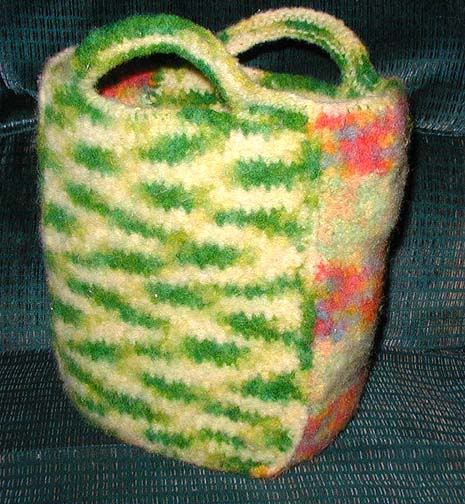
Small Project Tote
This bag was inspired by a paper gift bag that I had been using to hold my current crochet project. When the bag became worn, I decided to duplicate it in crochet.
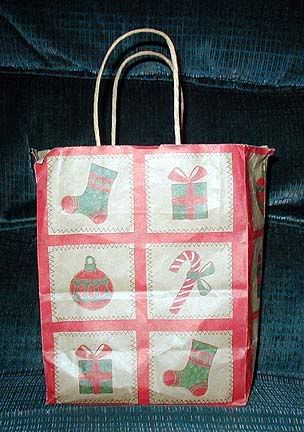
Now I can just grab the tote bag and run if I want to take my crocheting along with me.
Lynn Messner
Materials needed:
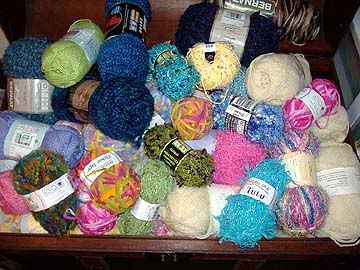
Worsted weight 100% wool yarn, about 7 to 8 oz.
Size G crochet hook
Safety pins
Yarn needle
Approximate finished size
12 x 10 x 6-1/2 inches before felting, excluding handles
10 x 8 x 4-1/2 inches after felting, excluding handles
Front and Back (Make two)
Row 1: Ch 31. Sc in second ch from hook, sc in each chain across. ch 1, turn (30)
Row 2: *Sc in first sc, dc in next sc*. Repeat across row. Ch 1, turn. (30)
Row 3: Sc in each dc and dc in each sc across. Ch 1, turn. (30)
Repeat row 3 until piece is 12 inches long. Ch1, turn. Sc across.
Handles:
Working across top of front or back piece, join yarn.
Row 1: Ch 1, sc across. Ch 1, turn.
Row 2: Sc in the first 7 stitches. Chain 16. Skip 16 stitches. Sc in last 7 stitches. Ch 1, turn.
Row 3: Sc across. Finish off.
Repeat for other piece.
Bottom
Ch 31.
Row 1: Sc across. Ch 1, turn. (30)
Repeat row one until piece is 6-1/2 inches long.
Finish off.
Sides (Make two)
Ch 19.
Row 1: Sc across. (18)
Row 2: *Sc 1, dc 1*. Repeat across row. Ch 1, turn. (18)
Row 3: Sc in each dc and dc in each sc, as for front and back. ch 1, turn. (18)
Repeat row 3 until piece measures 12 inches.
Ch 1, turn. Sc across for one row.
Finish off.
Weave in ends on all pieces.
To assemble
Hold the front and one of the sides together. Working through both layers, join yarn, ch 1 and sc across the long edge of the pieces. Finish off yarn.
Repeat this with the back and the other side piece. Then, holding the font/side and back/side together, work two more side seams. Finish off, weave in ends.
To join the bottom, work bottom seam the same way as the side seams. It helps to hold everything in place if you use a safety pin to hold each corner together while you work. With the front of the bag facing you, join yarn in corner and ch 1. Working through both layers, sc around bottom of bag. SS to first sc to join. Finish off. Weave in ends.
Top trim
Join yarn at any top corner of bag. Sc around top of bag, including handle. Sc around inside handle and top of bag. If you ss across top and bottom of handle instead of sc, the handle will be stronger and less stretchy. Finish off, weave in ends.
Felting Instructions
This works best with a top-loading washer, as you can control the amount of time the bag is in the hot water and thus the amount of felting and shrinkage.
Set washer at lowest water level on hot wash, cold rinse cycle. Add small amount of laundry soap, place bag in washer along with a couple of T-shirts or pairs of jeans to aid in agitation. Don’t use towels, as they shed lint and your bag will end up looking old and dull. Run washer through cycle, checking bag after five minutes. Continue to check every five minutes until it is the size you want. You may have to run bag through another cycle if it has not felted as much as you want.
Stop wash cycle if it hasn’t come to the end to avoid further shrinkage. Run through rinse and spin. Remove bag from washer. Gently stretch bag into shape. Fill bag with plastic grocery bags to keep its shape while drying. Remove plastic bags when dry and enjoy!
posted by MaggieBlue @ 12:51 PM
6 comments
![]()
![]()